Hey Guys! Its week 5 of the Fall One Room Challenge and we have a feature wall! This has been the one thing I have been nervous and excited for and I’m glad it is DONE!
Check out Week 1 | Week 2 | Week 3 | Week 4

WALLPAPER INSTALLATION
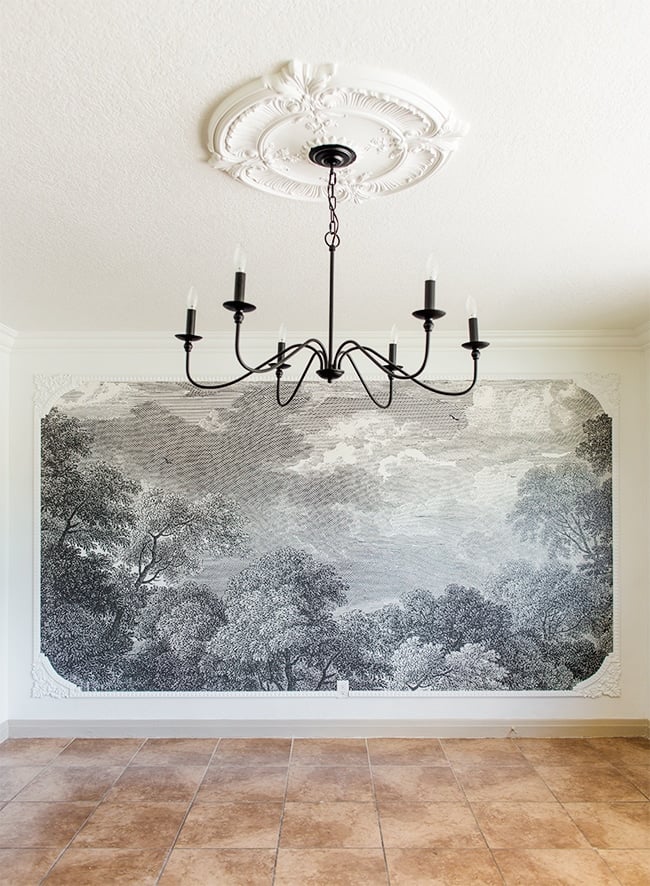
To install the wallpaper correctly, there was a lot of prep work I had to start with. The first thing we (I enlisted the help of my husband) did was to measure where we wanted the wallpaper to fit on the wall. I already had a rough idea so I purchased the wallpaper at the size 120 x 80. I figured its better to have too much than not enough. This was literally the best decision because I love how much space it covers without leaving too much awkward wall space on the sides.
We decided to leave 6 inches on the top and bottom and 18 inches on each side. We measured 6 inches from the ceiling and using a leveler, we drew a line 120inches long. We quickly realized that even though our line was level, it looked crooked because the ceiling was not level. So we had to measure 6 inches at several points on the wall and then draw a line.

After several calculations and manipulations, we drew the box that was 120 x 80 and as level as could be (in reference to the ceiling). Then we whipped out our trusty wallpaper application tools, laid out the wallpaper panels, cleaned the wall with a damp cloth and we were ready to go!
The first panel was a dream. We started at the top corner of our box and using the line we had drawn we pasted the wall paper on the wall.

This was so easy I couldn’t wait to get the remaining panels up on the wall. The wallpaper overlaps at 0.5 inches so we measured 0.5 inches on the first panel, geared up the second panel and repeated the same step. Unfortunately this is where our lucky streak would end. Turns out, lining up the wallpaper to our box may have worked with 1 panel but with the second panel, we had to make sure each piece lined up and the florals connected seamlessly while also trying to make sure it fit the level line we drew at the top. Trying to force this ended up in a sea of bubbles no roller could resolve. It was such a hot mess that I had to call it a night and attempt again the next day. Luckily for us the print hid the imperfections really well and the worst of it was at the bottom which is conveniently behind the crib. But I know its there, silently watching, judging …


Bright eyed and bushy tailed we got started the next day with the 3rd and 4th panels. I decided to prioritize the alignment of each panel and a smooth application over it being level.


We were going to frame it up anyway and we could use the frame to fix any leveling issues. The 3rd and 4th panels went up like a dream and it looked so good that even the 2nd panel fail couldn’t dampen my joy!

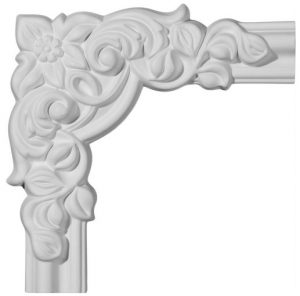
WALLPAPER FRAMING
I was inspired by Jenna Sue’s tutorial on framing wallpaper and I followed her tutorial to the letter. I even purchased the frames from the same manufacturer.

In my last blog post, I already shared the stress that went into getting these frames painted so I wouldn’t bore you with the details. I decided to hire a handyman to help install the frames since I didn’t have a miter saw for cutting the frames to size or a nail gun for securing the frames to the wall. I also wasn’t planning on investing in one. I love to come up with designs that are unique and different, I just do not want to do the actual labor myself LOL.
I had the frames painted and all the handyman had to do was cut and nail to the wall. Easy right – WRONG! We nailed down the corner piece to the wallpaper and my did it look so pretty. We then measured the length of the corner piece at the top x 2 for the bottom corner piece to figure out how much to take off the long frame which was 96in long. The frame came back and it was missing a few inches LOL. Which meant we had to cut another tiny piece to add to fill in the gap.

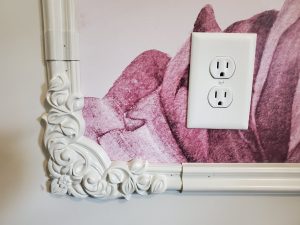
Now all this shouldn’t be too much of a big deal, just tiny little holes that could be filled with caulk. Well NO – it turns out that the corner frames were a little thinner than the actual frames. I had been putting them beside each other on carpet so I assumed it was going to be flush, but on the wall, you could see the height difference. The handyman was not an expert wood worker so he just nailed the pieces as best as he could and I was left, to pick up the pieces!

Before he left he mentioned that all I had to do was sand down the long frames that were a little higher and paint and it would be good as new. Easy peasy, lemon squeezy so I immediately ordered all the different grits sander and I was ready to work. As soon as I started sanding I knew this was a bad idea. The frame was not made of wood but with lightweight polyurethane so it was just making the texture of the frame really rough and I had no idea how to fix it. So I tried using caulk (lots of it) to mask the gaps somehow and sand it down a little then touch up with paint. This looked a little bit better however it wasn’t the perfect job I envisioned. I may have bitten off more than I can chew here but onward and upward!
BONUS – DIY-ish Tent
I realized that there was a corner space between the crib and dresser that had so much potential for a cozy nook. So I decided to get a play tent to add a little whimsical feel to her room. I found a lot of cute options but I have already MAXED my budget on this room update that I decided to look for more cost saving options. I found this cute tent on amazon and decided to get it with plans to upgrade it and make it more vavavoom. In the images online and the pictures posted in the reviews, it looked like a baby pink color, so I bought it. On arrival, I realized it was more blush than baby pink. In person it looked really nice but in pictures the blush beside the florals on the wallpaper looked like 2 different pinks and it bugged me. So I went back to amazon (smart right) to buy another tent and I checked all the reviews to make sure it was baby pink. When it arrived, it was literally the same exact fabric as the first one. It’s like all the sellers shopped from the same fabric store that only had 1 shade of pink! Then I had a bright idea! Why not sew both tents together to make 1 full fluffy tent!!!
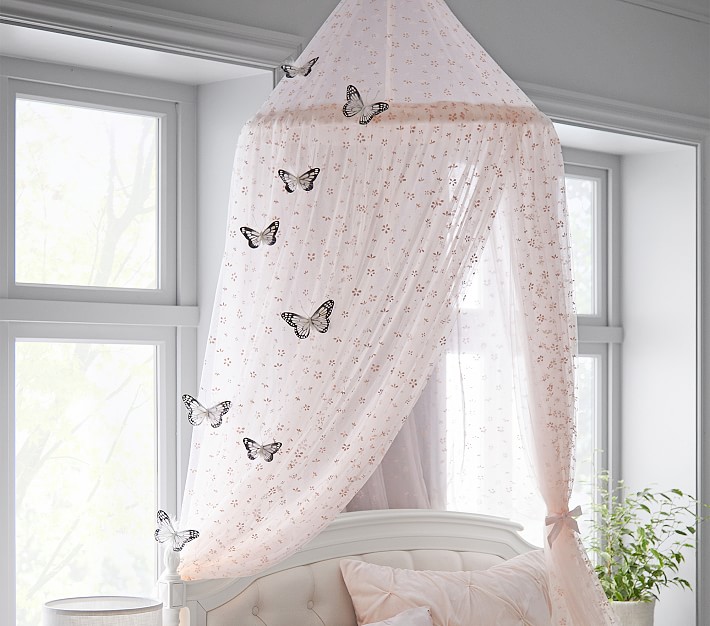
Since the first tent was already attached to the ring, I placed the new tent above it, centered it then sewed the top of the first one to the bottom of the new one. This way you don’t see my imperfect sewing skills from the outside. Then I sewed (at random spots) the base of the new tent to the ring of the first tent and voila!
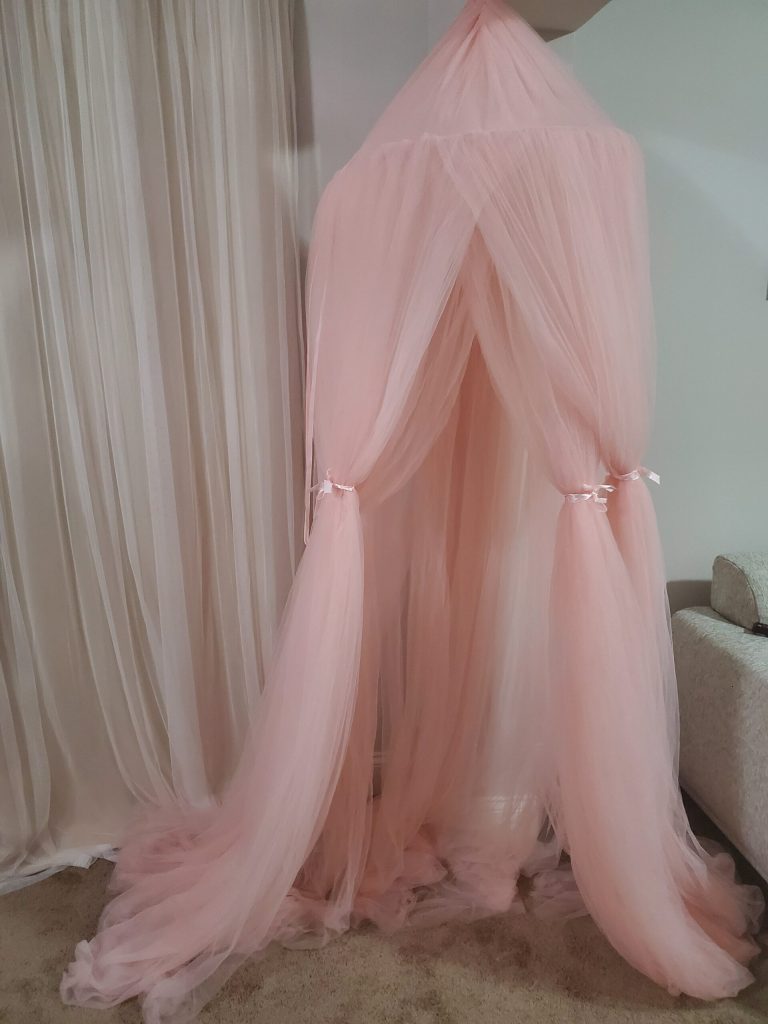
I had some left over butterflies from my toddler’s room revamp so I decided to sew each one at random spots on the top of the tent and just space it out in a way that looks realistic. I loved that it has this 3D effect with the butterflies and it has elevated the look of the tent.

I have been shopping for different items to finish styling this corner and also the rest of the room. Styling has to be completed, pictures have to be taken and edited and I cannot wait to share the finished product with you.
Next week will be the full reveal of this room. It was a lot of hard work getting here but I am so excited for my baby to have a room she’ll love and grown in. Thanks a lot for following me on this journey
Check out the one room challenge page to see what the other participants are up to. There are so many exciting projects being worked on and I can’t wait to see everyone’s reveal!
Thank you for spending this time with my musings. Feel free to reach out if you have any questions. I’ll see you in my next post!
![]()

Girl, you are killing it! I love that you sowed the tents together! Such a great idea. And those butterflies were perfect!
Girl, you are killing it! I love that you sowed the tents together! Such a great idea. And those butterflies were perfect!